Building my Cake

In school we worked on sculptural cakes and what you see in the picture here; is the process of my cake from the beginning of constructing it - to mud-rocing it and finally painting and putting the finishing touches.
The picture of my cake construction shows you also the materials used. For the construction, I used a plate as a template for the bottom tier and cut out some foam and attached it. For the top tier, I already had some fancy ribbon, so all I had to do was cut it to prefection to achieve the required height.
I then glued all the parts together with the glue gun. The next step was mud-rocing it together so the cake would be more stable and easier to paint on.
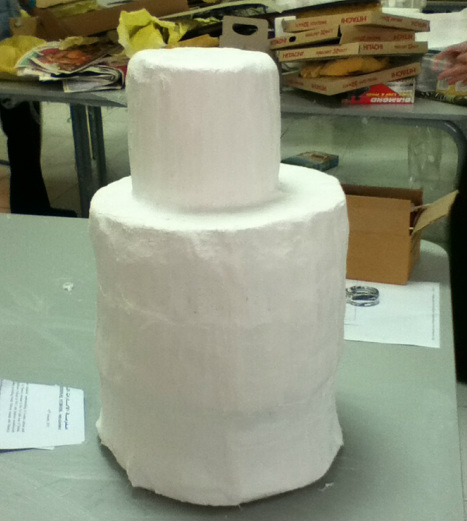
After mud-rocing the entire cake, the cake had the feeling of an actual rock. It was definitely more stable and easier to paint on.
Then finally a picture of the cake fully painted. to paint the cake I used a beige-yellow color for the background, bright pink for the bows and a very chocolaty brown for the dripping chocolate and the gummi worms.
To decorate the cake I used a soft ribbon to make the bows stand out, I glued the ribbon into the center of the 2 bows on either side of the cake. On the top bow, I used a very sparkly pink ribbon and did 2 lines for the outline and one running down the middle. To fill up the space of the top tier, I also added a few ready made material roses that matched the same color of the tier.
To the center of the bows I added some gems to make it stand out, that it was the center of the bow. For the two bows on the bottom tier, I added some red gems for the ribbon going around the cake and connecting to each other. To clean up my painting in between the top and bottom tier, I added another sparkly ribbon to cover up the paint.

